A tool bag can have plenty of pockets and still leave the intended user searching for the right item. For overseas brands and wholesalers planning custom tool bags, a useful starting point is the actual tool kit and the order in which its contents are used, rather than a target pocket count. This guide offers a design worksheet and sample review approach; it does not specify a load rating, price or production commitment.
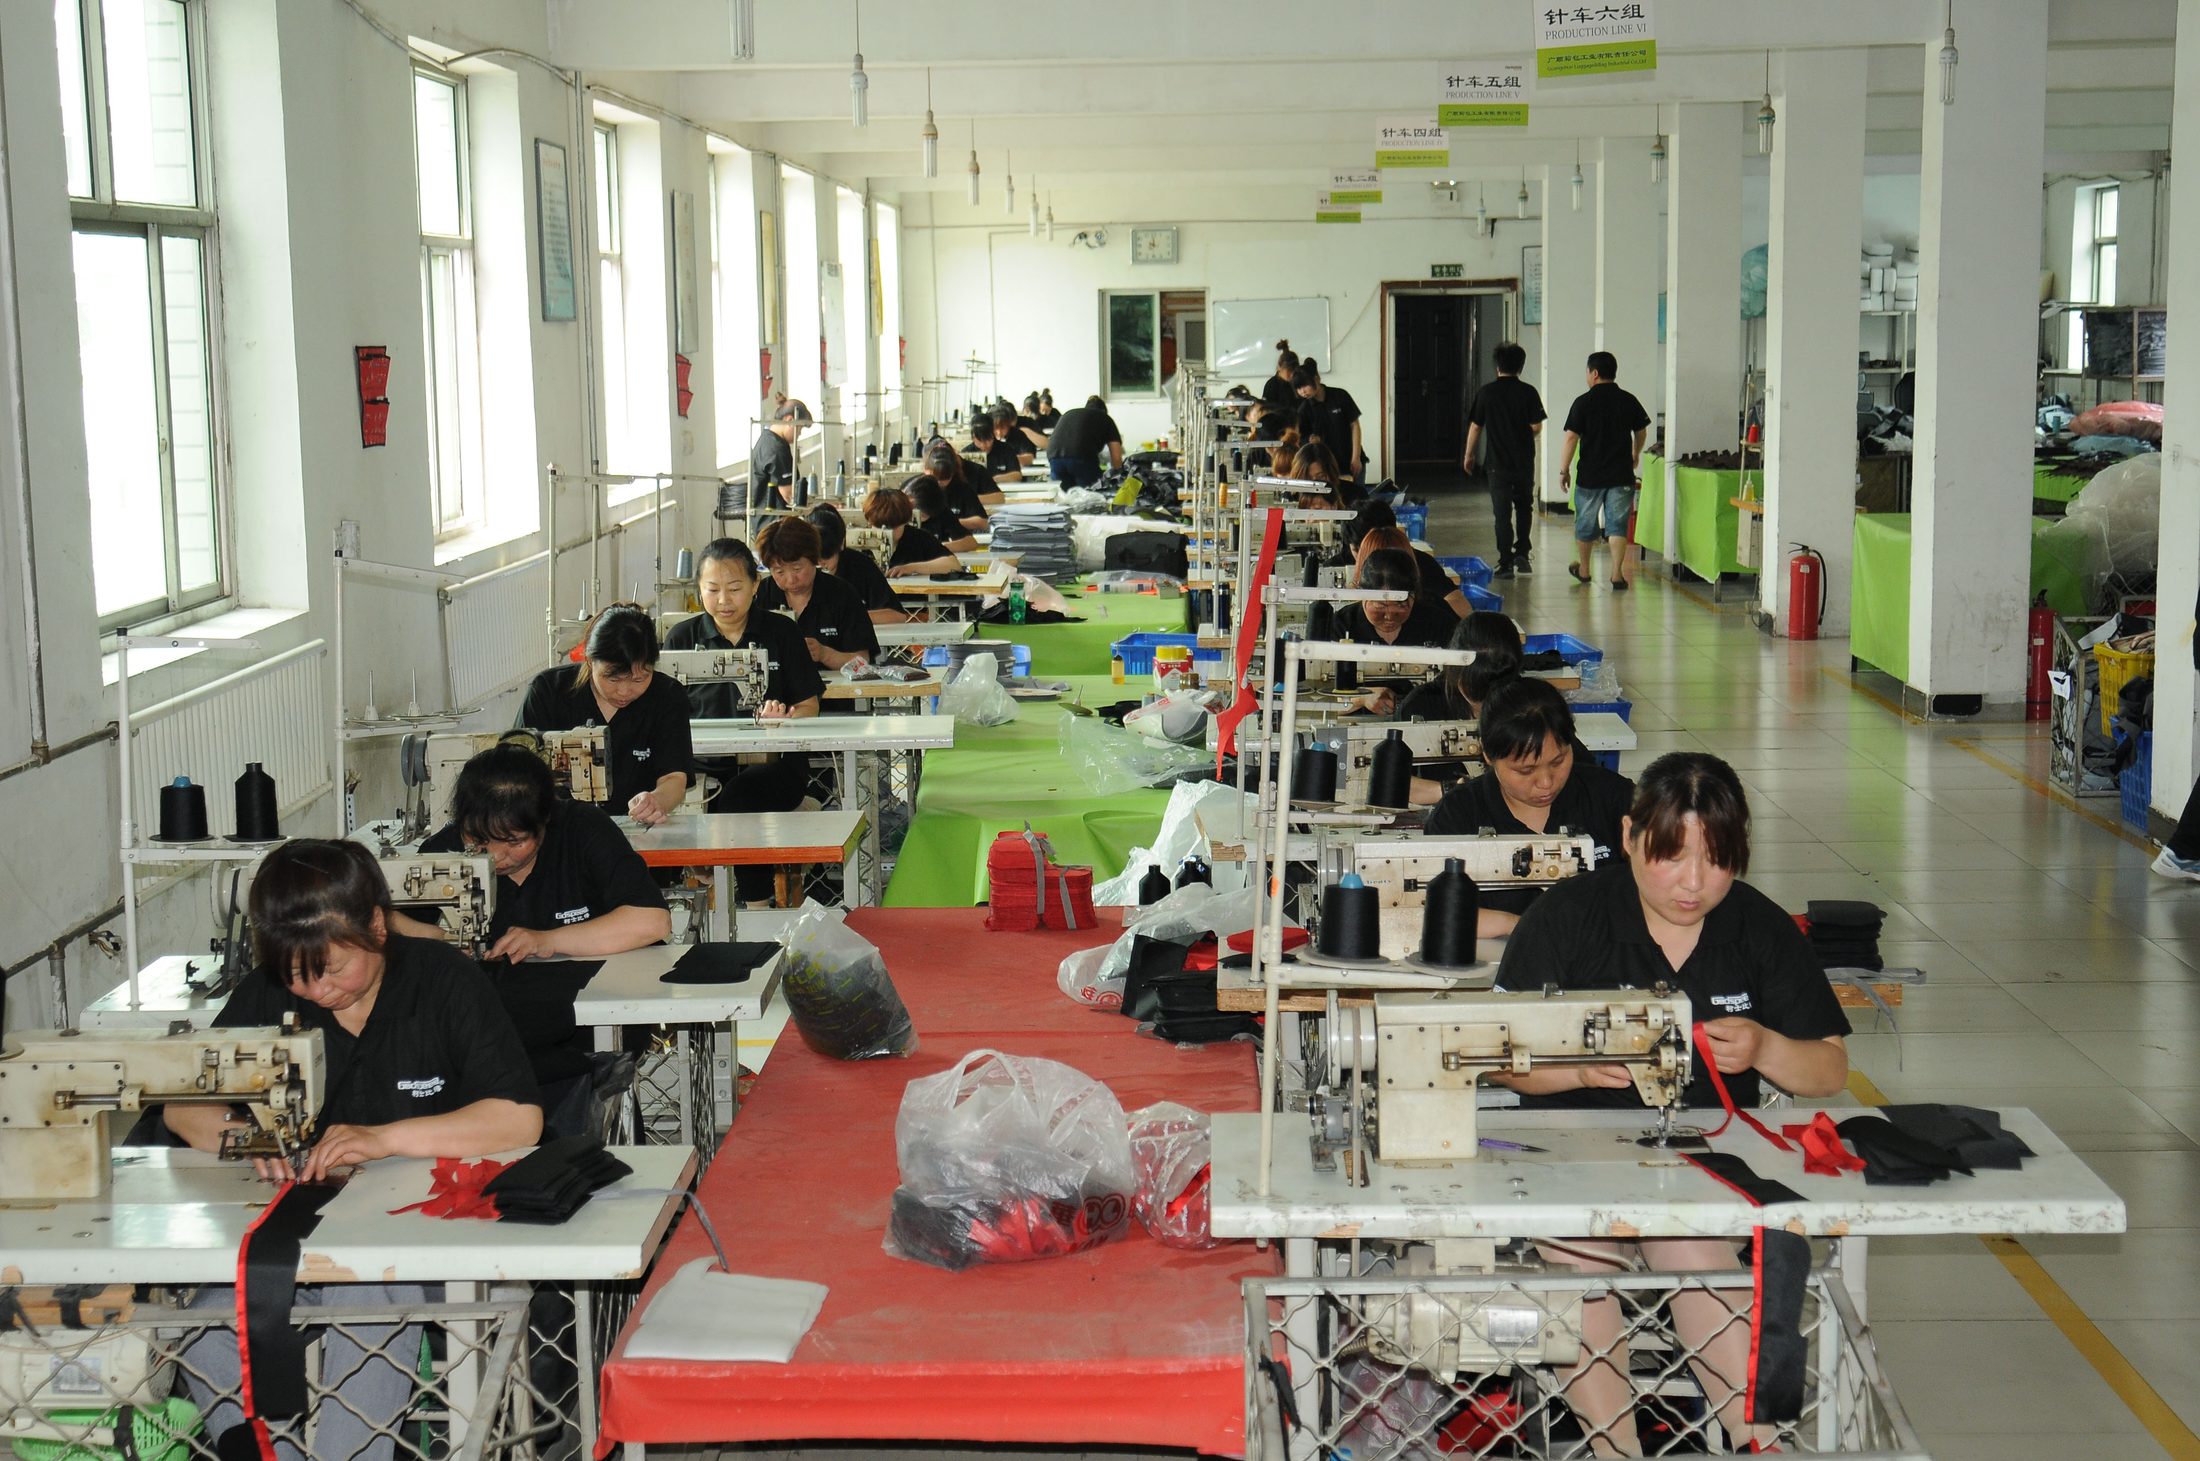
The cover photograph shows a Guangshun Bags production workshop, not a specific tool bag model.
Build a tool inventory before drawing the pockets
Ask the intended users to list the tools included in their normal kit. Separate the everyday set from occasional additions, replacement parts and personal items. Record the exact models where possible: two tools with the same general name may have different handles, attachments and overall shapes.
Measure each item in the condition in which it will be stored, including its supplied case or holder if one is used. Note the maximum width and thickness, not just the narrowest section. For an irregular item, attach a side-view photograph next to the dimensions. If the kit has not been finalized, mark the uncertain items instead of treating the first list as approved.
Define pocket depth and access as separate decisions
Pocket depth describes how much of the tool is enclosed; it does not describe how easily someone can retrieve it. Write down which part should remain visible and whether the tool is intended to be pulled upward, sideways or through the main opening. Ask the sample maker to propose usable dimensions around the supplied tools, then verify them with the physical kit. There is no universal clearance that suits every pocket and tool.
Published product ranges illustrate how varied these layouts can be. For example, Klein Tools' tool tote range includes different sizes and pocket arrangements. The worksheet below is our suggested planning method, not that manufacturer's specification and not evidence of any relationship with Guangshun Bags.
| Tool group | Details to record | Pocket question to resolve |
|---|---|---|
| Long hand tools | Stored length and handle profile | How much of the handle should remain visible? |
| Short, bulky tools | Widest section and stored orientation | Can the item pass through the opening without turning adjacent tools? |
| Small accessories | Quantity, grouping and supplied holders | Should they share a removable organizer or have separate compartments? |
| Frequently paired tools | Which items are used together | Can both be retrieved without unpacking another section? |
Map the layout to a specific working sequence
Choose one representative use scenario and ask a user to describe unpacking, selecting tools and returning them afterward. Mark frequently retrieved items on a sketch before assigning the remaining space. A custom tool organizer bag for a shared service kit may need a different arrangement from a bag that one person packs for transport.
Give each pocket an identifier such as P01 or P02 and connect it to the tool inventory. Record whether the pocket is inside, outside or part of a removable panel. Note how the contents will be identified: a visible handle, a numbered position or a separate label. If two colleagues expect different arrangements, document the disagreement before requesting a sample.
Check the whole kit, not one empty pocket at a time
Review individual pocket fit first, then load all intended items together. A pocket that works on its own still needs to be assessed when neighboring pockets and the central compartment are occupied. Record observations rather than assuming the drawing proves the result.
Use this checklist with the same kit each time:
- Place every everyday tool in its assigned position and note any unassigned items.
- Retrieve paired tools in the planned sequence without removing unrelated contents.
- Open and close the bag with the complete kit inside; record contact between tools, pockets and closures.
- Check whether removable organizers can be inserted and removed in the intended packed arrangement.
- Return each item and ask another user to identify what is missing from the inventory.
- Photograph any fit problem with the affected pocket identifier visible.
These are functional layout checks, not certification or durability tests. Carrying capacity, material performance and any protective claims require separately agreed requirements and appropriate supporting evidence.
Separate the organizer brief from commercial approval
Custom tool storage bags also need decisions about the bag opening, carrying arrangement, material references and branding. Keep those items in the brief, but do not let them obscure an unresolved pocket layout. Where a component is undecided, ask for options and confirm the selected option on the sample.
For an OEM discussion, send the kit inventory, pocket sketch, reference photographs, intended quantity and destination market. Record the questions that still require factory review, including the proposed sampling approach and requested timeline. Commercial terms should be confirmed for the particular project, not assumed from a guide.
Learn about Guangshun Bags and review our OEM and ODM project workflow. To discuss your tool bag design, contact our team with the tool list and pocket worksheet. This gives the conversation a concrete starting point without treating an unreviewed concept as an approved product.