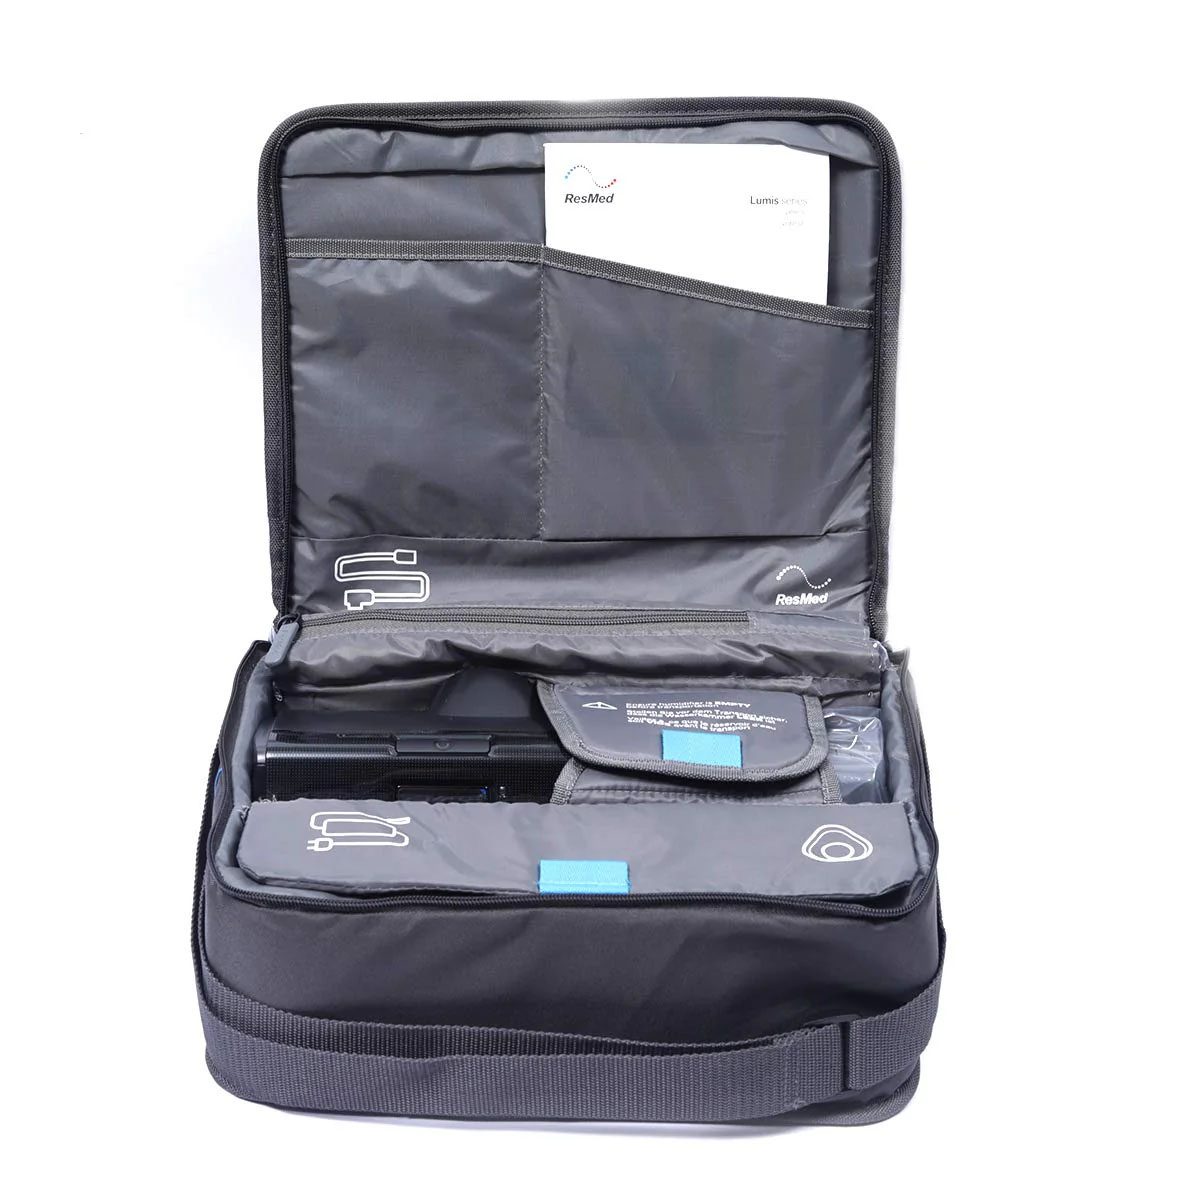
A protective insert should begin with the equipment that must fit inside it, not with a generic cavity shape. For overseas brands and institutional buyers planning a custom equipment case, the first useful document is a measured inventory showing the device, accessories, cables and the order in which users need them. This guide provides a design-brief and prototype-review method. It does not promise a protection level, material performance, carrying capacity, price or delivery schedule.
The cover photograph shows an equipment carrying-case reference, not an approved insert design or a verified protection specification.
Record the complete packed equipment set
List every item that will travel in the case, including removable parts, power supplies, cables, adapters and documents. Record the exact model or version where relevant. Two devices with similar names may have different protrusions, controls or connector locations, so a category name alone is not enough for insert planning.
Measure each item in its packed condition. Include attached caps, guards, handles or brackets that remain in place during transport. For an irregular object, provide photographs from several directions and mark the orientation in which it should rest. If a physical sample cannot be supplied, identify which measurements still need confirmation rather than presenting estimated dimensions as final.
Use a simple inventory table before discussing the outer case:
| Item group | Information to provide | Insert question to resolve |
|---|---|---|
| Main device | Maximum dimensions, orientation and sensitive controls | Which surfaces may contact the insert, and which areas need clearance? |
| Removable components | Quantity, dimensions and assembly relationship | Should each part have its own location or share a removable organizer? |
| Cables and adapters | Coiled size, connector shape and retrieval frequency | Can they be removed without lifting the main device? |
| Documents and small items | Format, quantity and access priority | Should they sit in a lid pocket, flat sleeve or separate pouch? |
The table is a buyer-planning tool, not a fixed manufacturing specification. The proposed clearances and insert construction must be confirmed during sample development.
Separate fit, access and retention requirements
A cavity can match an object's outline and still be difficult to use. Record how a user will grip and remove the device. Mark any control, display, connector or delicate protrusion that should not be used as a lifting point. If the device needs finger access on two sides, show those access areas on the drawing instead of asking only for a tight fit.
Retention is a separate decision. Note whether the device should remain in place when the case is carried normally, whether a strap or divider is expected, and which orientation is intended during transport. Treat these as questions for the project team and sample review. Do not assume that a close-fitting insert proves shock, drop or vibration performance. Any required performance claim needs an agreed assessment method and supporting evidence for the finished design.
Plan accessories around the working sequence
Divide accessories into three groups: items needed before the device is removed, items used with the device and items kept as backups. This sequence helps determine whether cables belong beside the main device, in a separate compartment or in a removable pouch. It also reduces the chance that a small hard item will be placed loosely against a device surface.
Give every storage area an identifier such as I01 for the main insert and A01 for an accessory zone. Connect these identifiers to the equipment inventory. When the sample changes, use the same labels in photographs and comments so the factory can see exactly which cavity or pocket is being discussed.
Review the prototype with the real equipment
A drawing review should be followed by a physical fit check whenever practical. Load the complete intended set, not only the main device, and repeat the same packing sequence during each revision. The purpose is to identify usability and fit issues before the layout is treated as approved.
Use this prototype checklist:
- Confirm that every inventory item has an assigned location.
- Place the main device in the intended orientation without pressing on marked controls or protrusions.
- Remove the device using the planned grip points and note any restricted finger access.
- Retrieve frequently used cables and accessories without unpacking unrelated items.
- Close the case with the complete set inside and record any interference between the lid, pockets and equipment.
- Carry the sample in the intended orientation, then reopen it and note any visible movement or displaced accessories.
- Photograph each issue with its insert or accessory-zone identifier and add it to one consolidated change log.
These checks support layout approval only. They do not replace any test or certification required for a specific market or application.
Send one controlled brief for OEM review
Combine the equipment inventory, dimension drawings, orientation photographs, access priorities, proposed zone map and unresolved questions into one revision-controlled file. Add the intended quantity, destination market, branding artwork and outer carrying preferences for project review. Keep commercial terms and performance requirements clearly marked as items to confirm for the individual project.
Review custom equipment and instrument bag references and the OEM / ODM workflow. When the equipment list and insert map are ready, contact Guangshun Bags to discuss a custom equipment case sample.